Cyberlink PowerDirector is a video editing software application for non-linear video editing. It allows users to capture, edit and output from within the software and has semi-professional features suitable for the consumer level. For those who want to import videos from DVD to PowerDirector for editing, it isn't without hiccups because PowerDirector (including PD 14) does not support DVD importing. Fortunately, there is an easy way to fix this problem.
To capture video scenes from DVD to PowerDirector, you need to convert DVD files to PowerDirector compatible video format first. To finish the task, EaseFab DVD Ripper will be a great help. With it, you can fast rip DVD movies to PowerDirector fully compatible MPEG-2 files without quality loss. Meanwhile, this DVD app enables you to change DVD files to editable format for Pinnacle Studio, Adobe Premiere Pro, Sony Vegas, Windows Movie Maker, Avid Studio, Magix Movie Edit Pro and more other NLEs. Now download this program and follow the guide below to complete your task.
Simple steps to rip a DVD & import to PowerDirector
Step 1. Import DVD movie
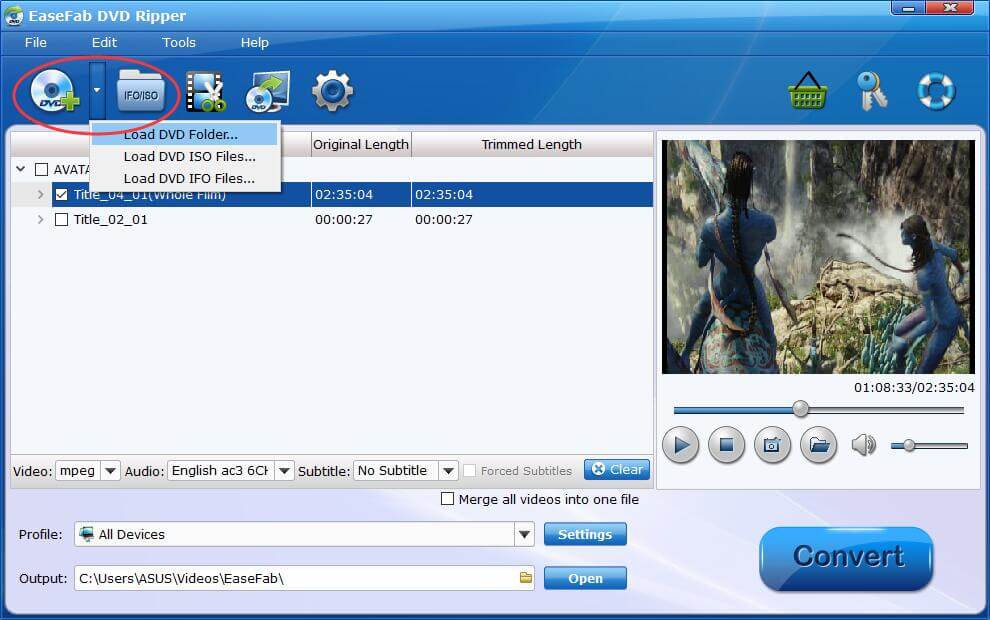
Insert the DVD disc into your computer's DVD drive and click the "Load DVD" button on the top left to select and load the DVD movies you want to edit in PowerDirector. ISO and IFO files are also supported. After the movies are loaded, you can preview them on the right viewing window and adjust volume or take snapshots freely.
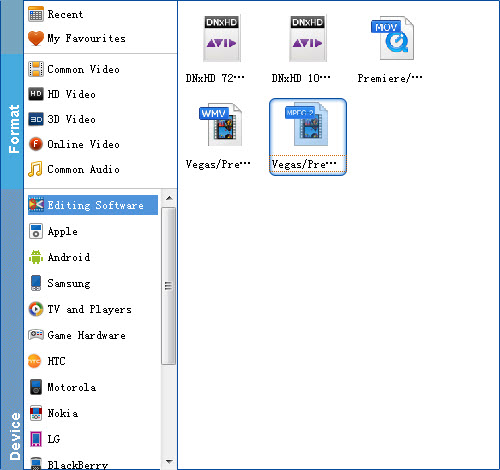
Step 2. Select the output format
Click the Profile bar, and move mouse cursor to "Editing Software" and then choose "MPEG-2" as the output format. The output video will keep the original quality of DVD video and seamlessly fit PowerDirector 13, 12, 11, 10, 9, 8 and more.
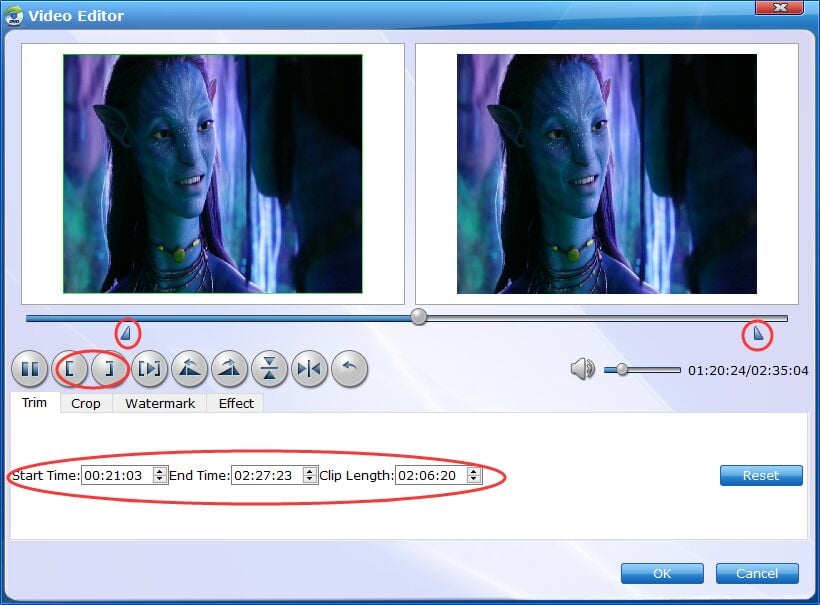
Tip: Video editing functions like Trim, Crop, Effect, Watermark and Subtitles are provided. For example, if you just want to import a clip from DVD to PowerDirector for editing, you can click  to enter Video Editor Windows and then from "Trim" workspace to create a custom clip from a larger scene. To adjust the duration of your clip, move the sliders below the screen to the start and end points you want.
Step 3. Start conversion and then add videos to Powerdirector
When all the settings are fine, click the Convert button to start converting your DVD movies to optimized MPEG-2 video files for PowerDirector.
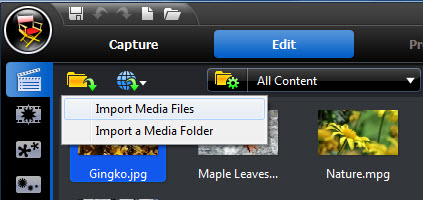
After the conversion, click "Open Folder" icon to locate the result videos. Start up Cyberlink PowerDirector, follow "Open Folder" > "Import Media Files" to import individual video clips.