Does Adobe Premiere Pro support Variable Frame Rate/VFR? Actually, the question is not easy to answer. Adobe Premiere Pro officially states that it can support VFR video since 12.0.1 update in early 2018, but the weird thing is that many Premiere Pro users are facing the audio-video sync issue after importing those VFR footages taken by your iPhone, iPad, Camtasia, nVidia ShadowPlay, Panasonic GH5.
Generally, it's hard for NLE software to work with variable frame rate video. Adobe Premiere Pro is no exceptation. If your Adobe Premiere Pro has some trouble with VFR/variable frame rate video footage, causing audio not sync with the video or lost, don't waste your time on searching and trying complex troubleshooting methods in vain. It's recommended to transcode these media files from Variable Frame Rate to Constant Frame Rate and then use them in Premiere Pro. And transcoding is also recommended by Adobe officially.
Everything you need to know about Variable Frame Rate/VFR and Adobe Premiere Pro
Part 1. Get to know Variable Frame Rate/VFR
As video technology develops at a rapid pace and becomes an increasingly important tool in our cameras it can leave a steep learning curve for many photographers. Variable frame rates, also known as VFR is one of the popular technical jargon you may heard about often. Variable frame rates came to the fore with the launch of the Panasonic GH5 and now many smartphones and digital cameras like iPhone, iPad, Camtasia, nVidia ShadowPlay, etc. can capture videos with VFR compression since the VFR can bring smaller video size but higher quality.
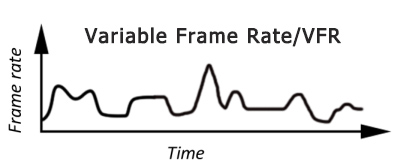
Variable Frame Rate, shortly for VFR, is a term wildly used in video recording. As the name suggests, if a video is recorded in VFR mode, the camera will automatically adjust the frame rate according to what's going on in the scene.
Compared to CFR(constant frame rate), this efficient recording method can not only improve recording ability greatly, but also reduce the file size with the maximum FPS. These huge recording benefits make VFR shooting adopted in many places. Examples include:
• video recorded by smartphones
• webcams
• game-play recording software like NVIDIA ShadowPlay
• other screen capture applications like OBS Studio
Part 2. How to determine if a media has VFR?
1). Using Mediainfo (a free and open-source program that displays technical information about media files)
You may open the file in MediaInfo, click View and then select .Tree Under the Video dropdown, if the Frame Rate Mode is listed as Variable, then it is a VFR media. It will also provide a Minimum and Maximum frame rate value.

2). Using Adobe Premiere
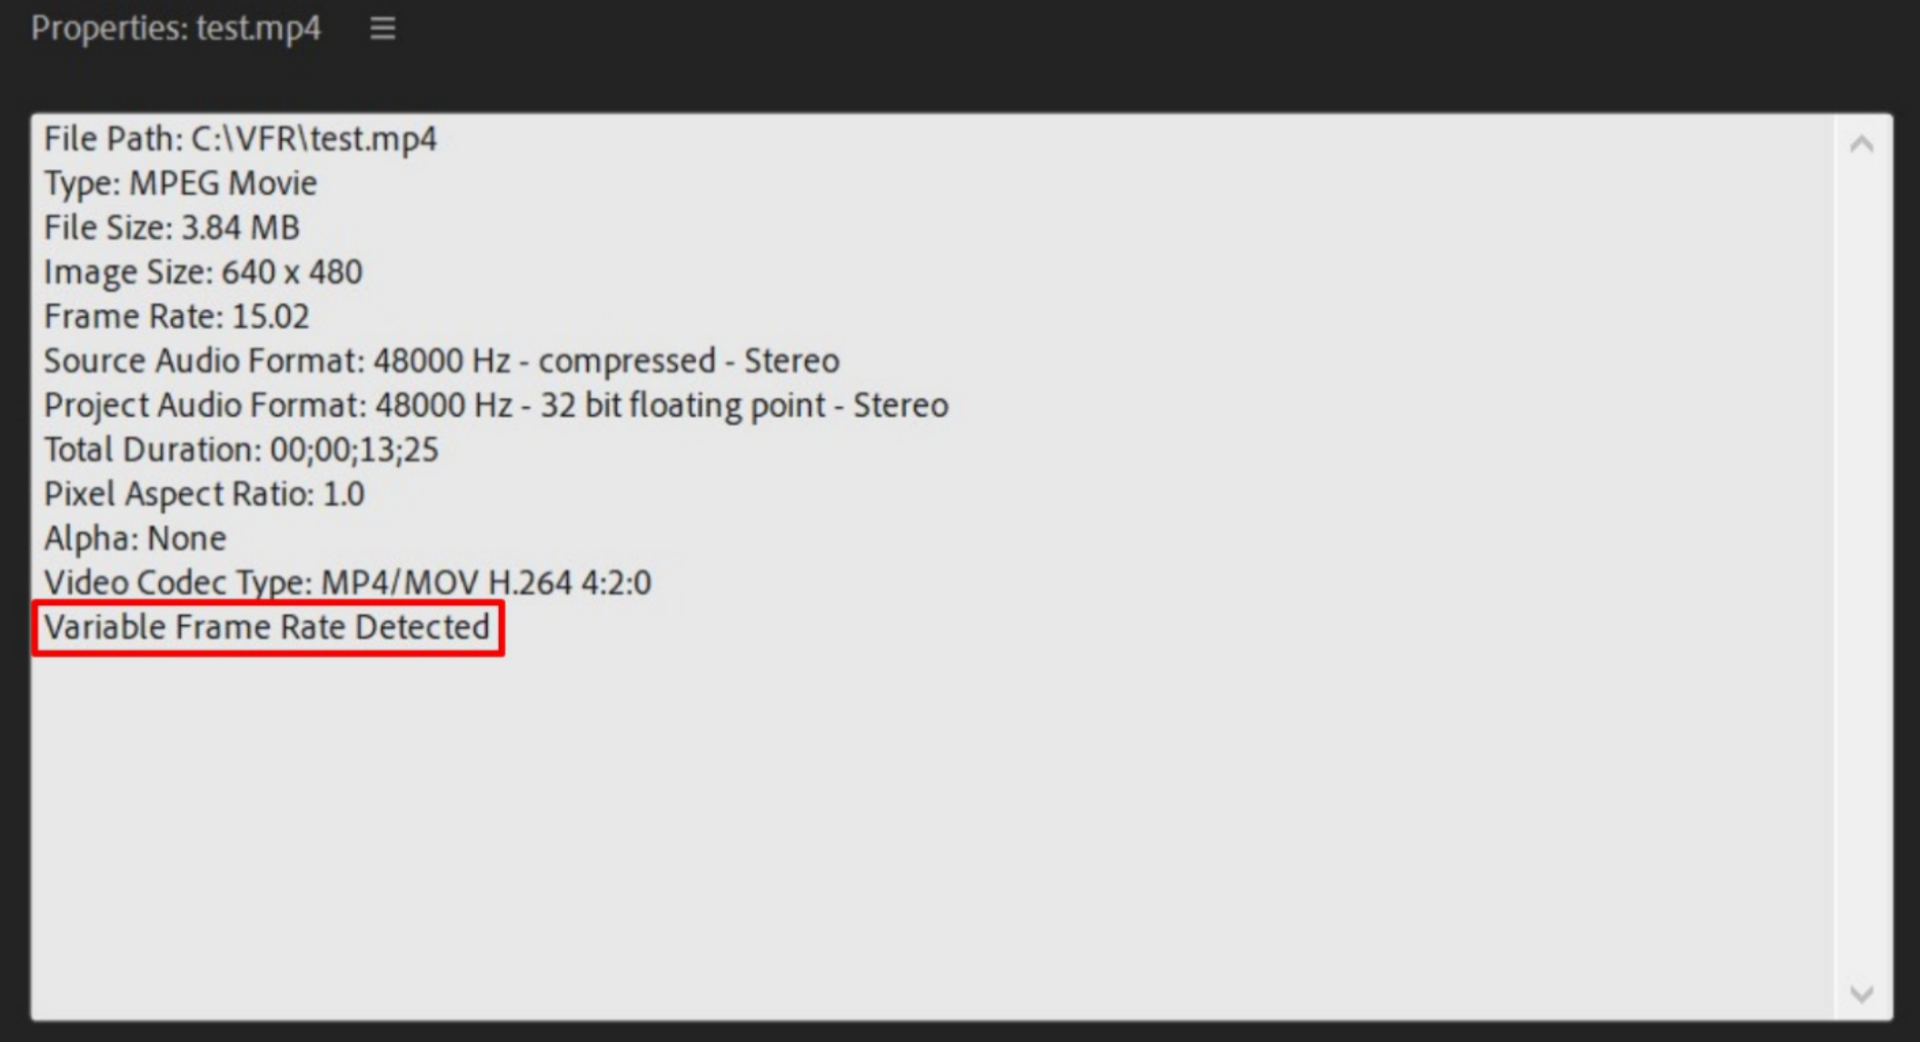
If you use Adobe Premiere Pro (version 12.0.1 or higher), you can easily find out if a video clip is shot using VFR. After the VFR video is imported into Premiere Pro CC, its Properties will list "Variable Frame Rate Detected" text.
1. Import the media file in Premiere Pro (version 12.0.1 or higher)
2. Right click on the media file and select Properties
3. In the Properties panel, you would see Variable Frame Rate Detected if the media has VFR.
Part 3. Limitations of Adobe Premiere Pro to handle VFR video
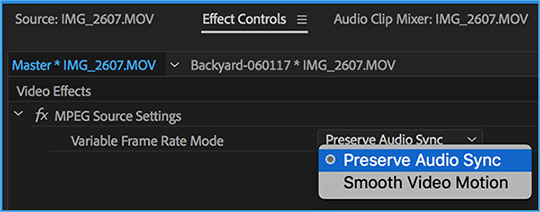
Old Adobe hates VFR, because VFR is really difficult to work with when synchronizing the audio. But the situation has turned around since Premiere Pro finally supports VFR in version 12.0.1. It keeps audio in sync with video automatically by adding or dropping frames using new "Preserve Audio Sync" feature (under Master Clip Effects). Yep, this framing adjustment preserves some audio sync, however, may result in a choppy-playback video too.
In fact, Adobe officially lists two limitations when Premiere Pro works with VFR footage. Below is a word-to-word quote:
a). "If you plan to use proxy, consolidate, or transcode workflows, it is better to transcode VFR material to a constant frame rate before editing."
b). "If you have manually synced VFR footage in previous versions of Premiere Pro, you need to resync that footage when opening the project in Premiere Pro 12.0.1 or later versions."
Note: With few VFR media files the Preserve Audio Sync function may not work as intended due to extent of variation between the Minimum and Maximum frame rate. In such cases, it is recommended to transcode these media files to Constant Frame Rate and then use them in Premiere Pro.
Part 4. How to fix the VFR audio-video sync/lost issue in Premiere Pro
As is figured out in the last part, the perfect workaround for Premiere's VFR limitations and performance bug is to do transcoding - converting the variable frame rate to constant frame rate with third-party software. There are many free and paid options out there, and among them, the easier-to-use yet powerful video converter and decoder - EaseFab Video Converter is highly recommended. This converter works fast while keeping high quality. Apart from changing file format, EaseFab Video Converter can also convert your VFR videos to constant frame rate. Free download and install the smart tool on your PC or Mac and you'll be able to fix VFR audio unsynced or lost Issue in Premiere Pro effortlessly.
EaseFab Video Converter - The One-click Way to Convert Videos for Adobe Premiere and more.
• Accepts nearly all types of videos, regardless of video formats, codecs and resolutions.
• Transode or pass-through media files to that supported by Adobe Premiere Pro.
• Easy editing experience: cut, crop, merge, add effects/watermark, add subtitles...
• Completes video conversion and processing in three steps.
Simple Steps to Switch footage from VFR to CFR using EaseFab
Step 1. Detect and input your source VFR video that has AV sync issue in Premiere Pro into EaseFab Video Converter. Launch and click Add Video to add. You can also directly drag & drop your VFR video to the program directly.

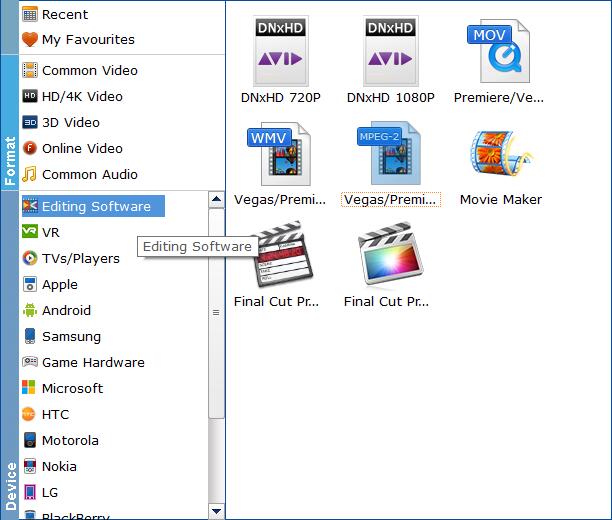
Step 2. Click "Profile" and move your mouse cursor to "Editing Software" category, select MPEG-2, WMV, or MOV for Premiere Pro. Here MPEG-2 is recommended.
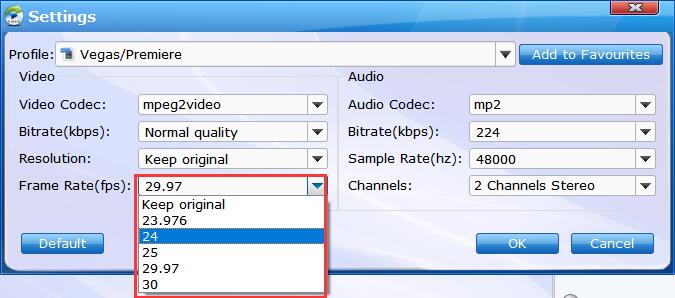
Step 3. Optionally, you can click the "Settings" button to adjust frame rate, resolution, bit rate, and more. Navigate to Frame Rate (FPS) option under Video Options and pick a proper value according to the content. 24 fps and 30pfs are top choices for common videos.
Step 4. Cut or crop video if necessary using EaseFab's Editing function. When everything is ready, click "Convert" button to get the conversion started.
After the conversion completes, you can then import the converted MPEG-2 file into Premiere Pro without VFR audio unsynced or lost issue.
A Possible Alternative Method to Fix VFR Audio Sync Issues in Adobe Premiere:
Editor's Note: This is a method I found online and I've tried several times but failed. Maybe there is something wrong with that. Anyone else can give a try.
Digital video is sometimes recorded with a Variable Frame Rate (VFR). This can cause the MP4 file audio to play out of sync when editing in Adobe Premiere. Instead of being an exact frame rate like film at 24 frames per second (fps) or 30fps, the camera can save the video at rates like 29.910988 or 29.970030 to save space. This normally does not present an issue because iMovie and Final Cut automatically compensate and re-render the video at a Constant Frame Rate (CFR). Adobe Premiere does not do this automatically, so you can run into playback differences that are dependent upon your video source.
This is related to not reading part of the mp4 file during import. If the file type is changed to .dif instead of .mp4, this will cause Premiere to read it correctly.
1. Single click on the file and press Enter on the keyboard to edit the file name.
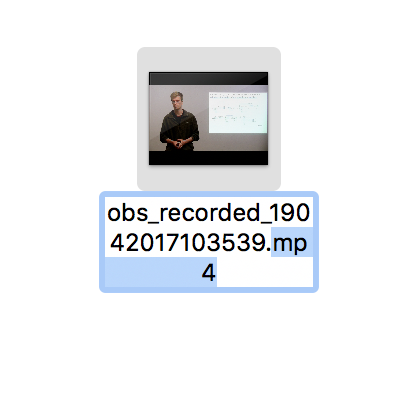
2. Change .mp4 to .dif and press Enter to finish editing the name.
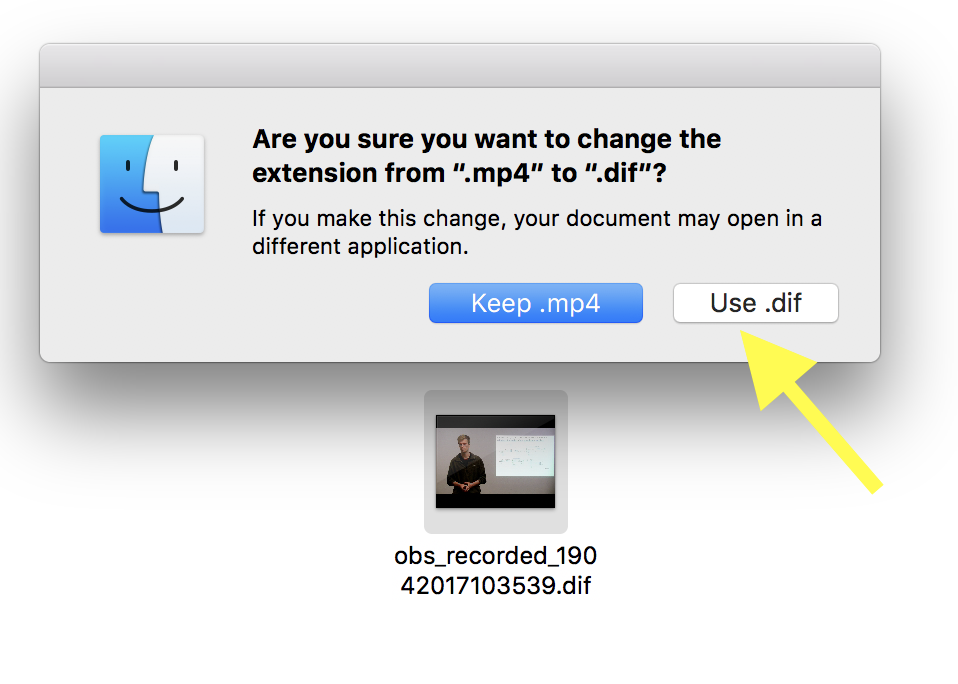
3. Click Use .dif to finish changing the suffix. Then import this file into Premiere.
Final words for all of the video nerds:
If you are bound to do post-production with your recordings in Adobe Premiere Pro, taking movie with a fixed frame rate is a wiser choice.