DVD Ripper > User Guide

Trim: How to Trim DVD Clips?

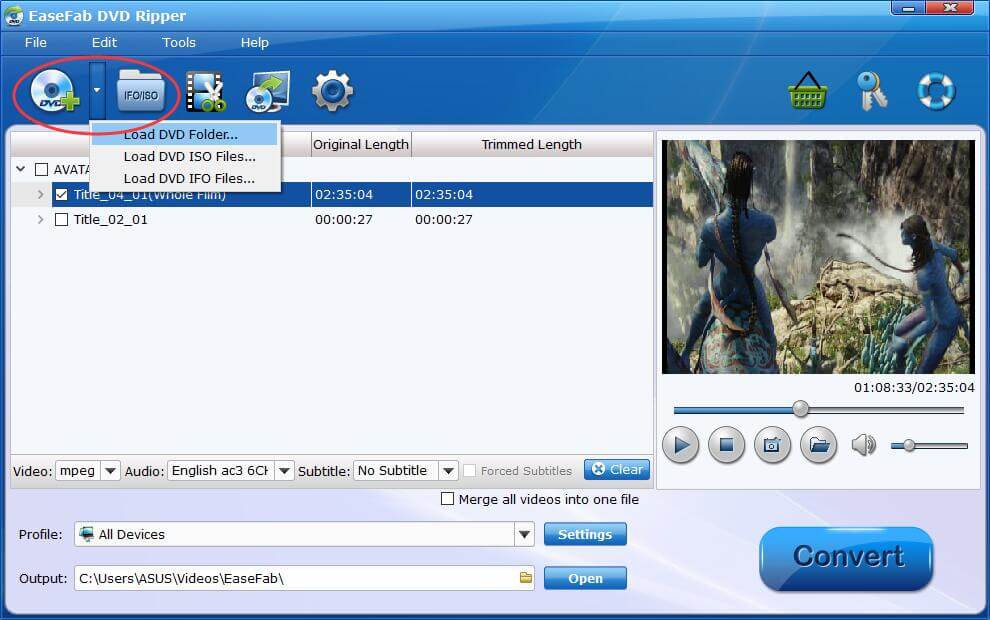
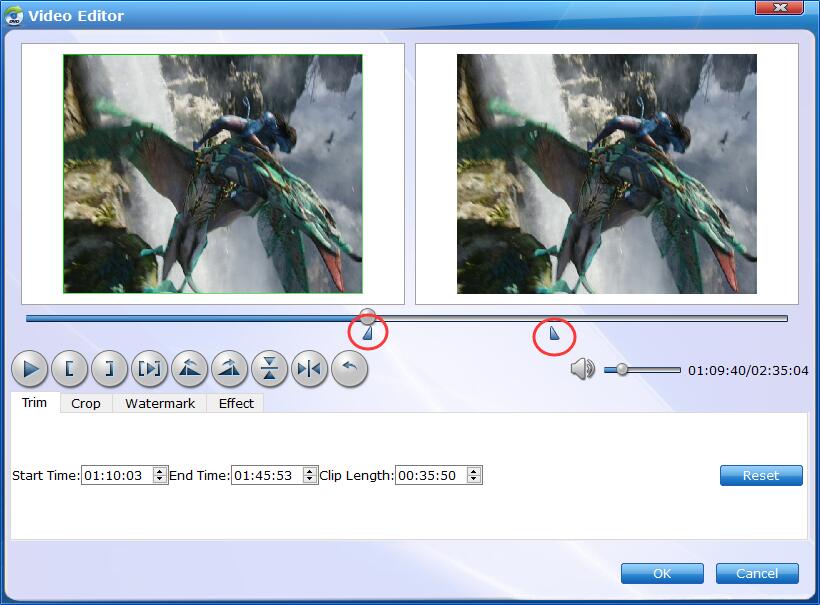
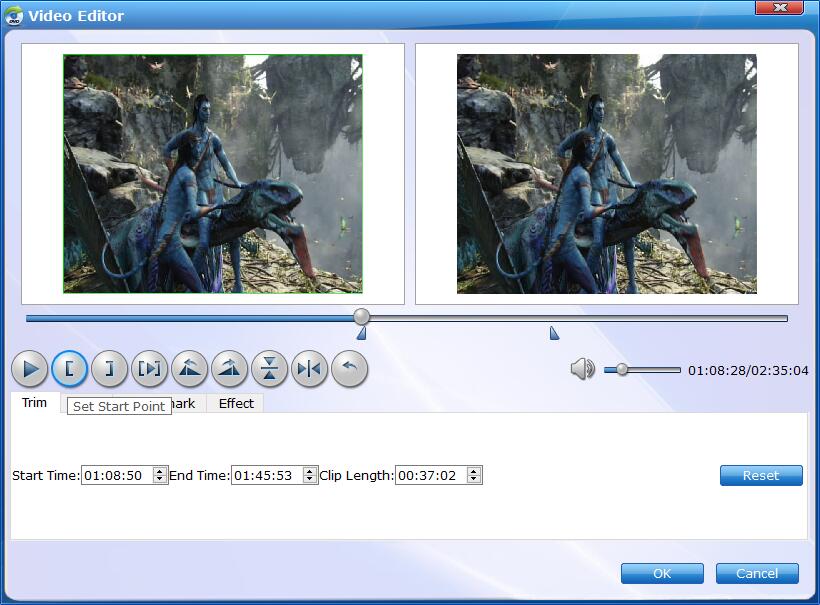
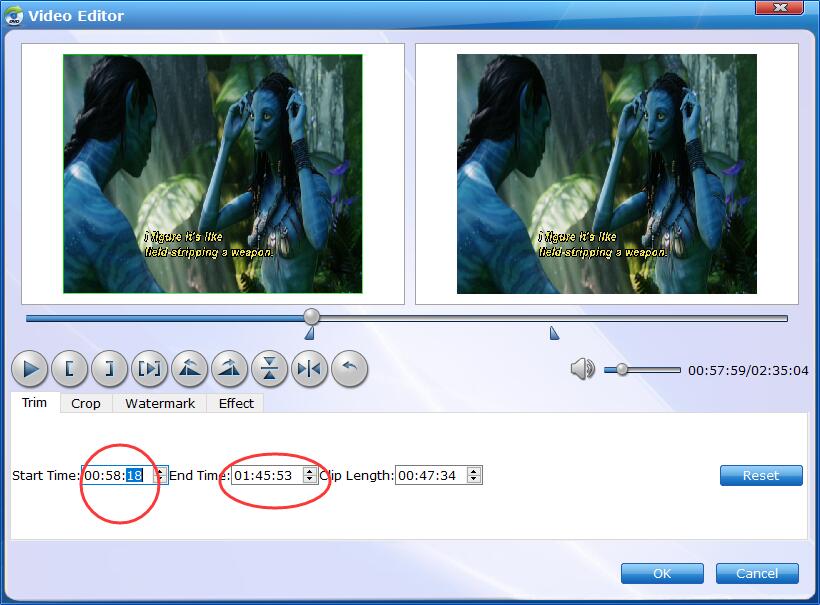
EaseFab DVD Ripper integrates a full-featured video editor into the program, which enables you to personalize and touch up your DVD videos in clicks. Trimming videos is one of the useful features to edit videos, which can remove the unwanted parts as a video shortener by trimming the unwanted part and combining the left clips together, trim a long videos into several small segments for convenient sharing or watching. Below lists detailed steps for you to trim DVD Clips.

Step 1

Load DVD Files

Insert a DVD into your DVD drive, and click the Load DVD button. The program will add the DVD to the program and list all the titles. Double-click one of the titles, and you can preview the movie in the Preview window on the right. See the picture below. You can also import ISO files, IFO files or DVD folder for conversion.

Load DVD Files
Step 2

Trim Video

The Trim feature allows users to decide where to start and where to end when converting the selected clip, so that unwanted segments will be cut out after conversion.

Click Edit Button button to enter the video editor Window, and switch to Trim tab in Video Editor Interface and follow any of the methods below:.

1. Drag the control sliders video converter slide to include the segment you want to remain.

Trim

1. Click the left square bracket to set start point, and click the right square bracket to set end point when previewing the video.

Trim

3. Input specific values to "Start" and "End" box.

Trim
Step 3

Save Trimmed DVD Clips and Convert.

When you've done the trim well, click OK and you'll return to the program's primary interface, then click the Profile bar and select and output format for the edited video. Now, just click the Convert button to start the conversion.

Step 4

Find the trimmed DVD Video.

When the conversion process ends, you can click Open button to find the trimmed DVD video clips.

Open output folder

Copyright © 2024 EaseFab Software Corporation. All Rights Reserved.